
Green Week ♻️ GumGum NYC Makes Mini Herb Gardens 🌱
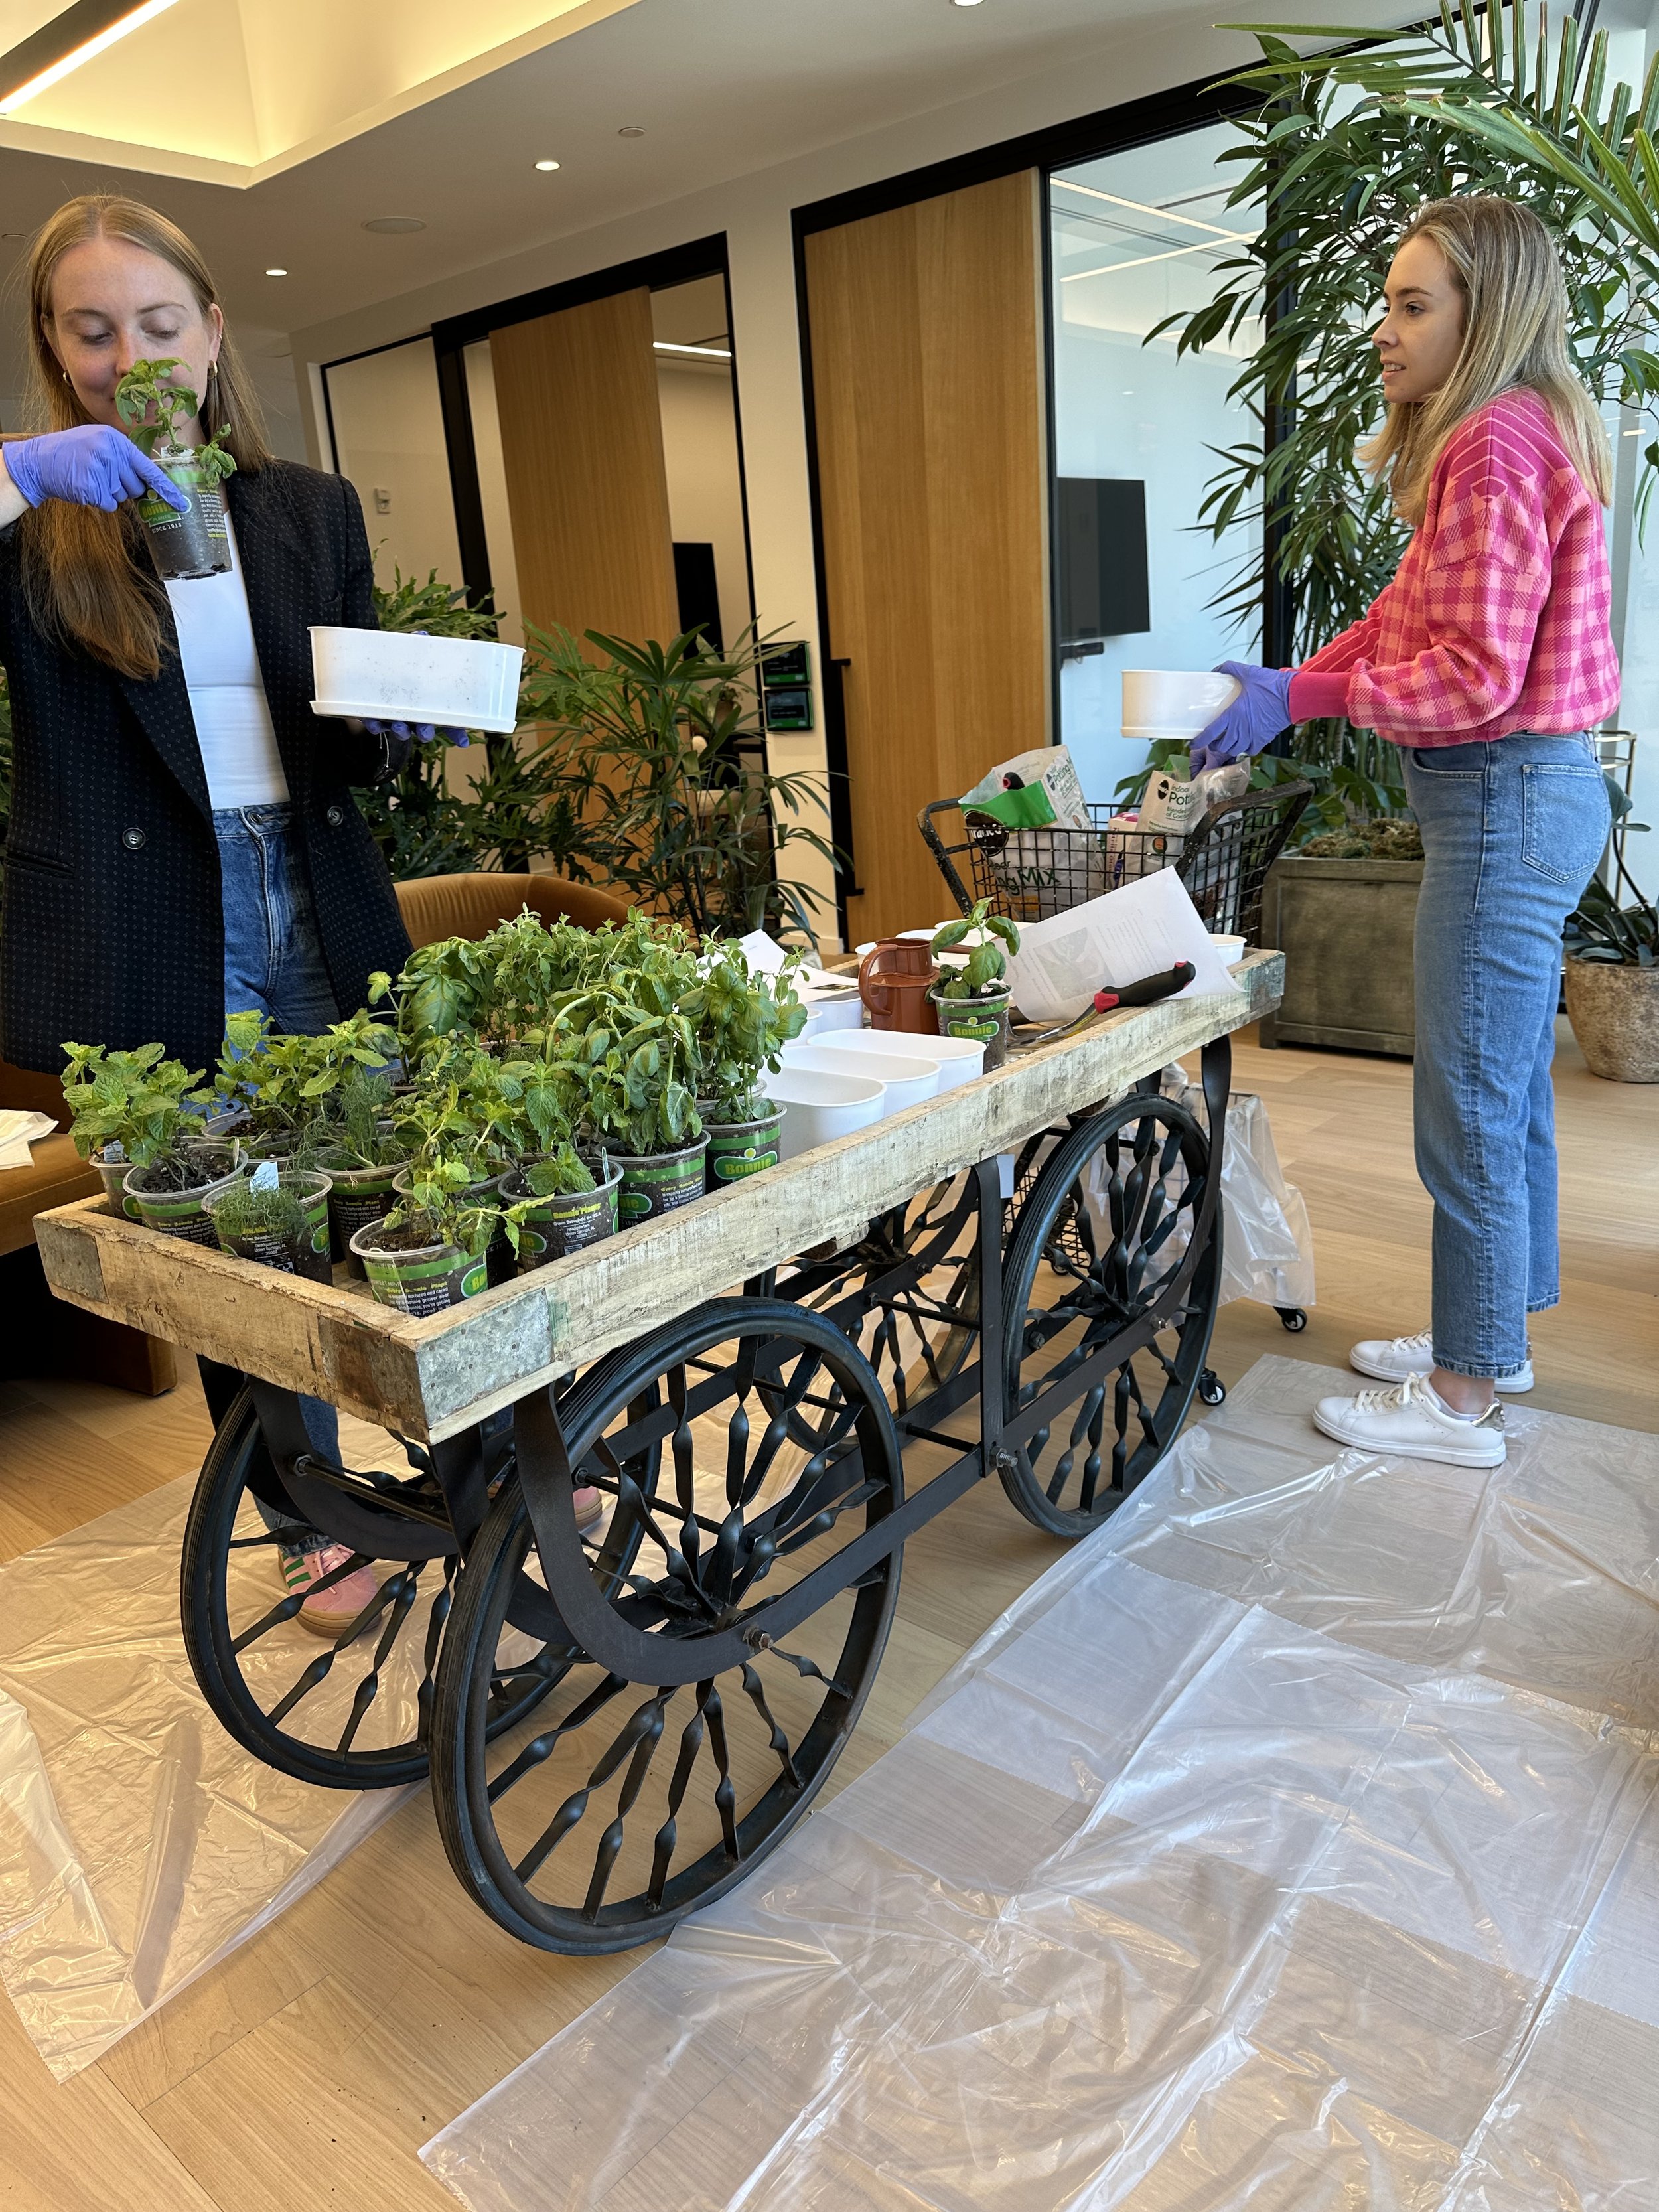
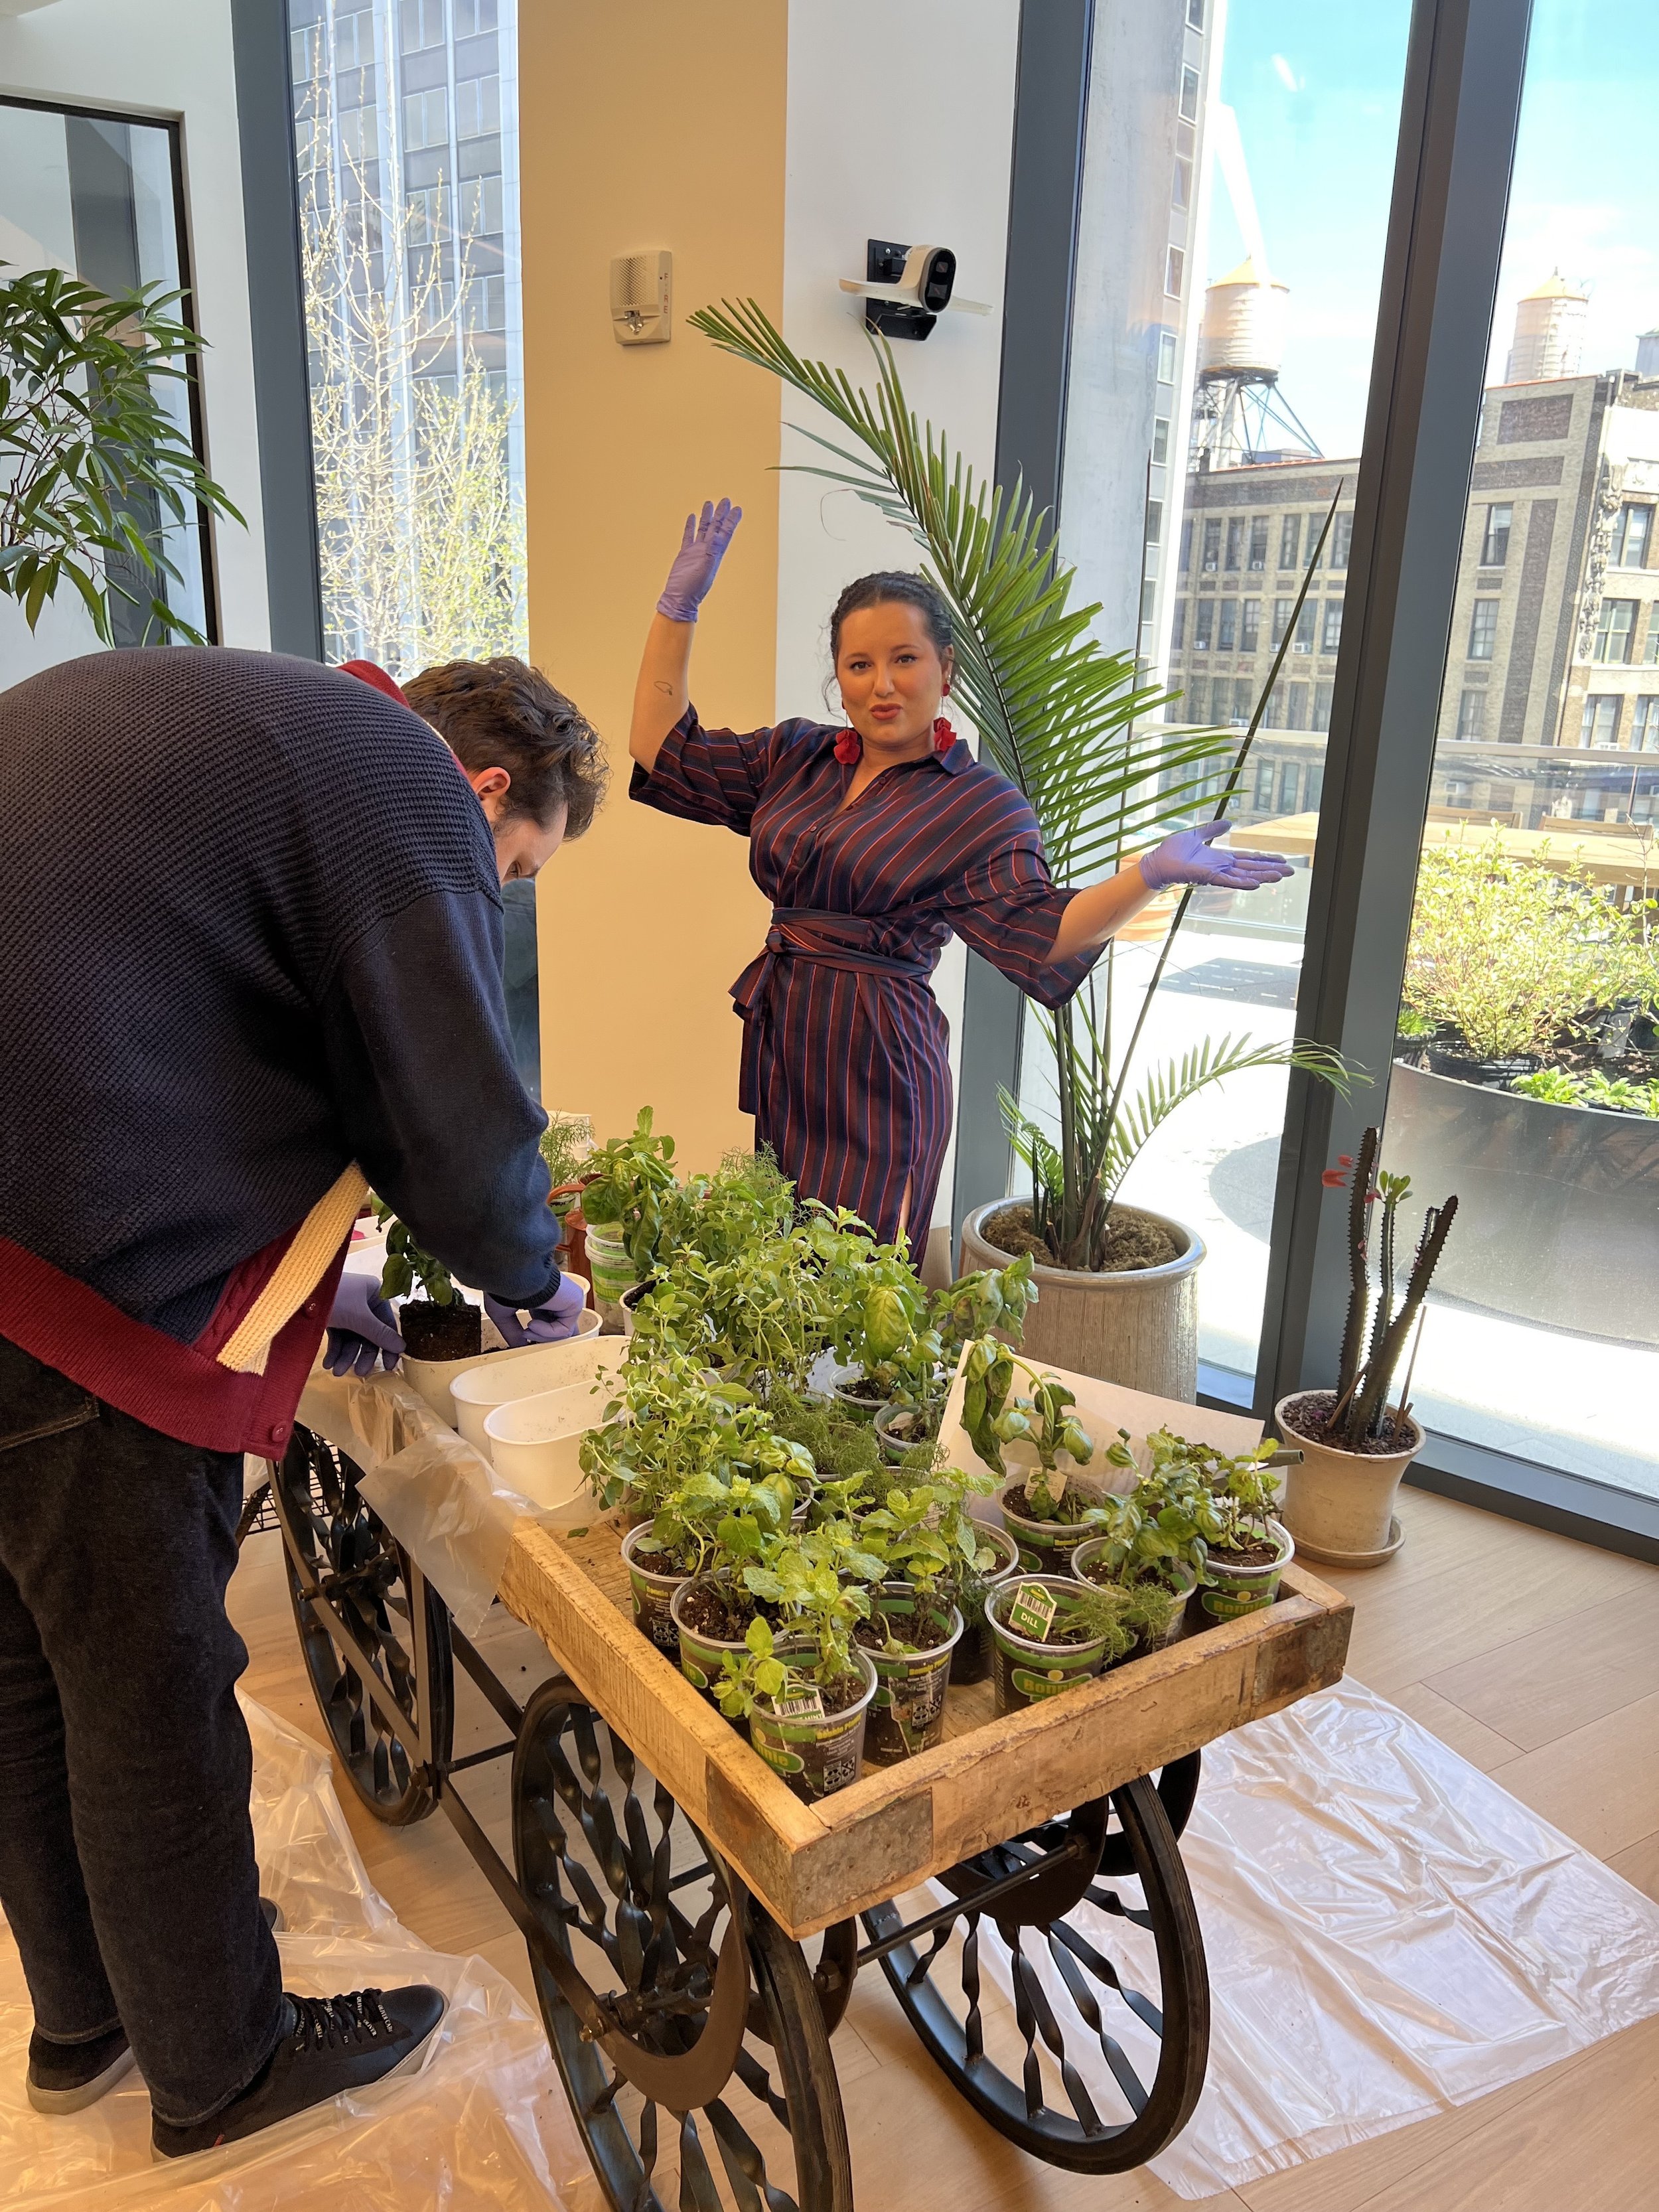
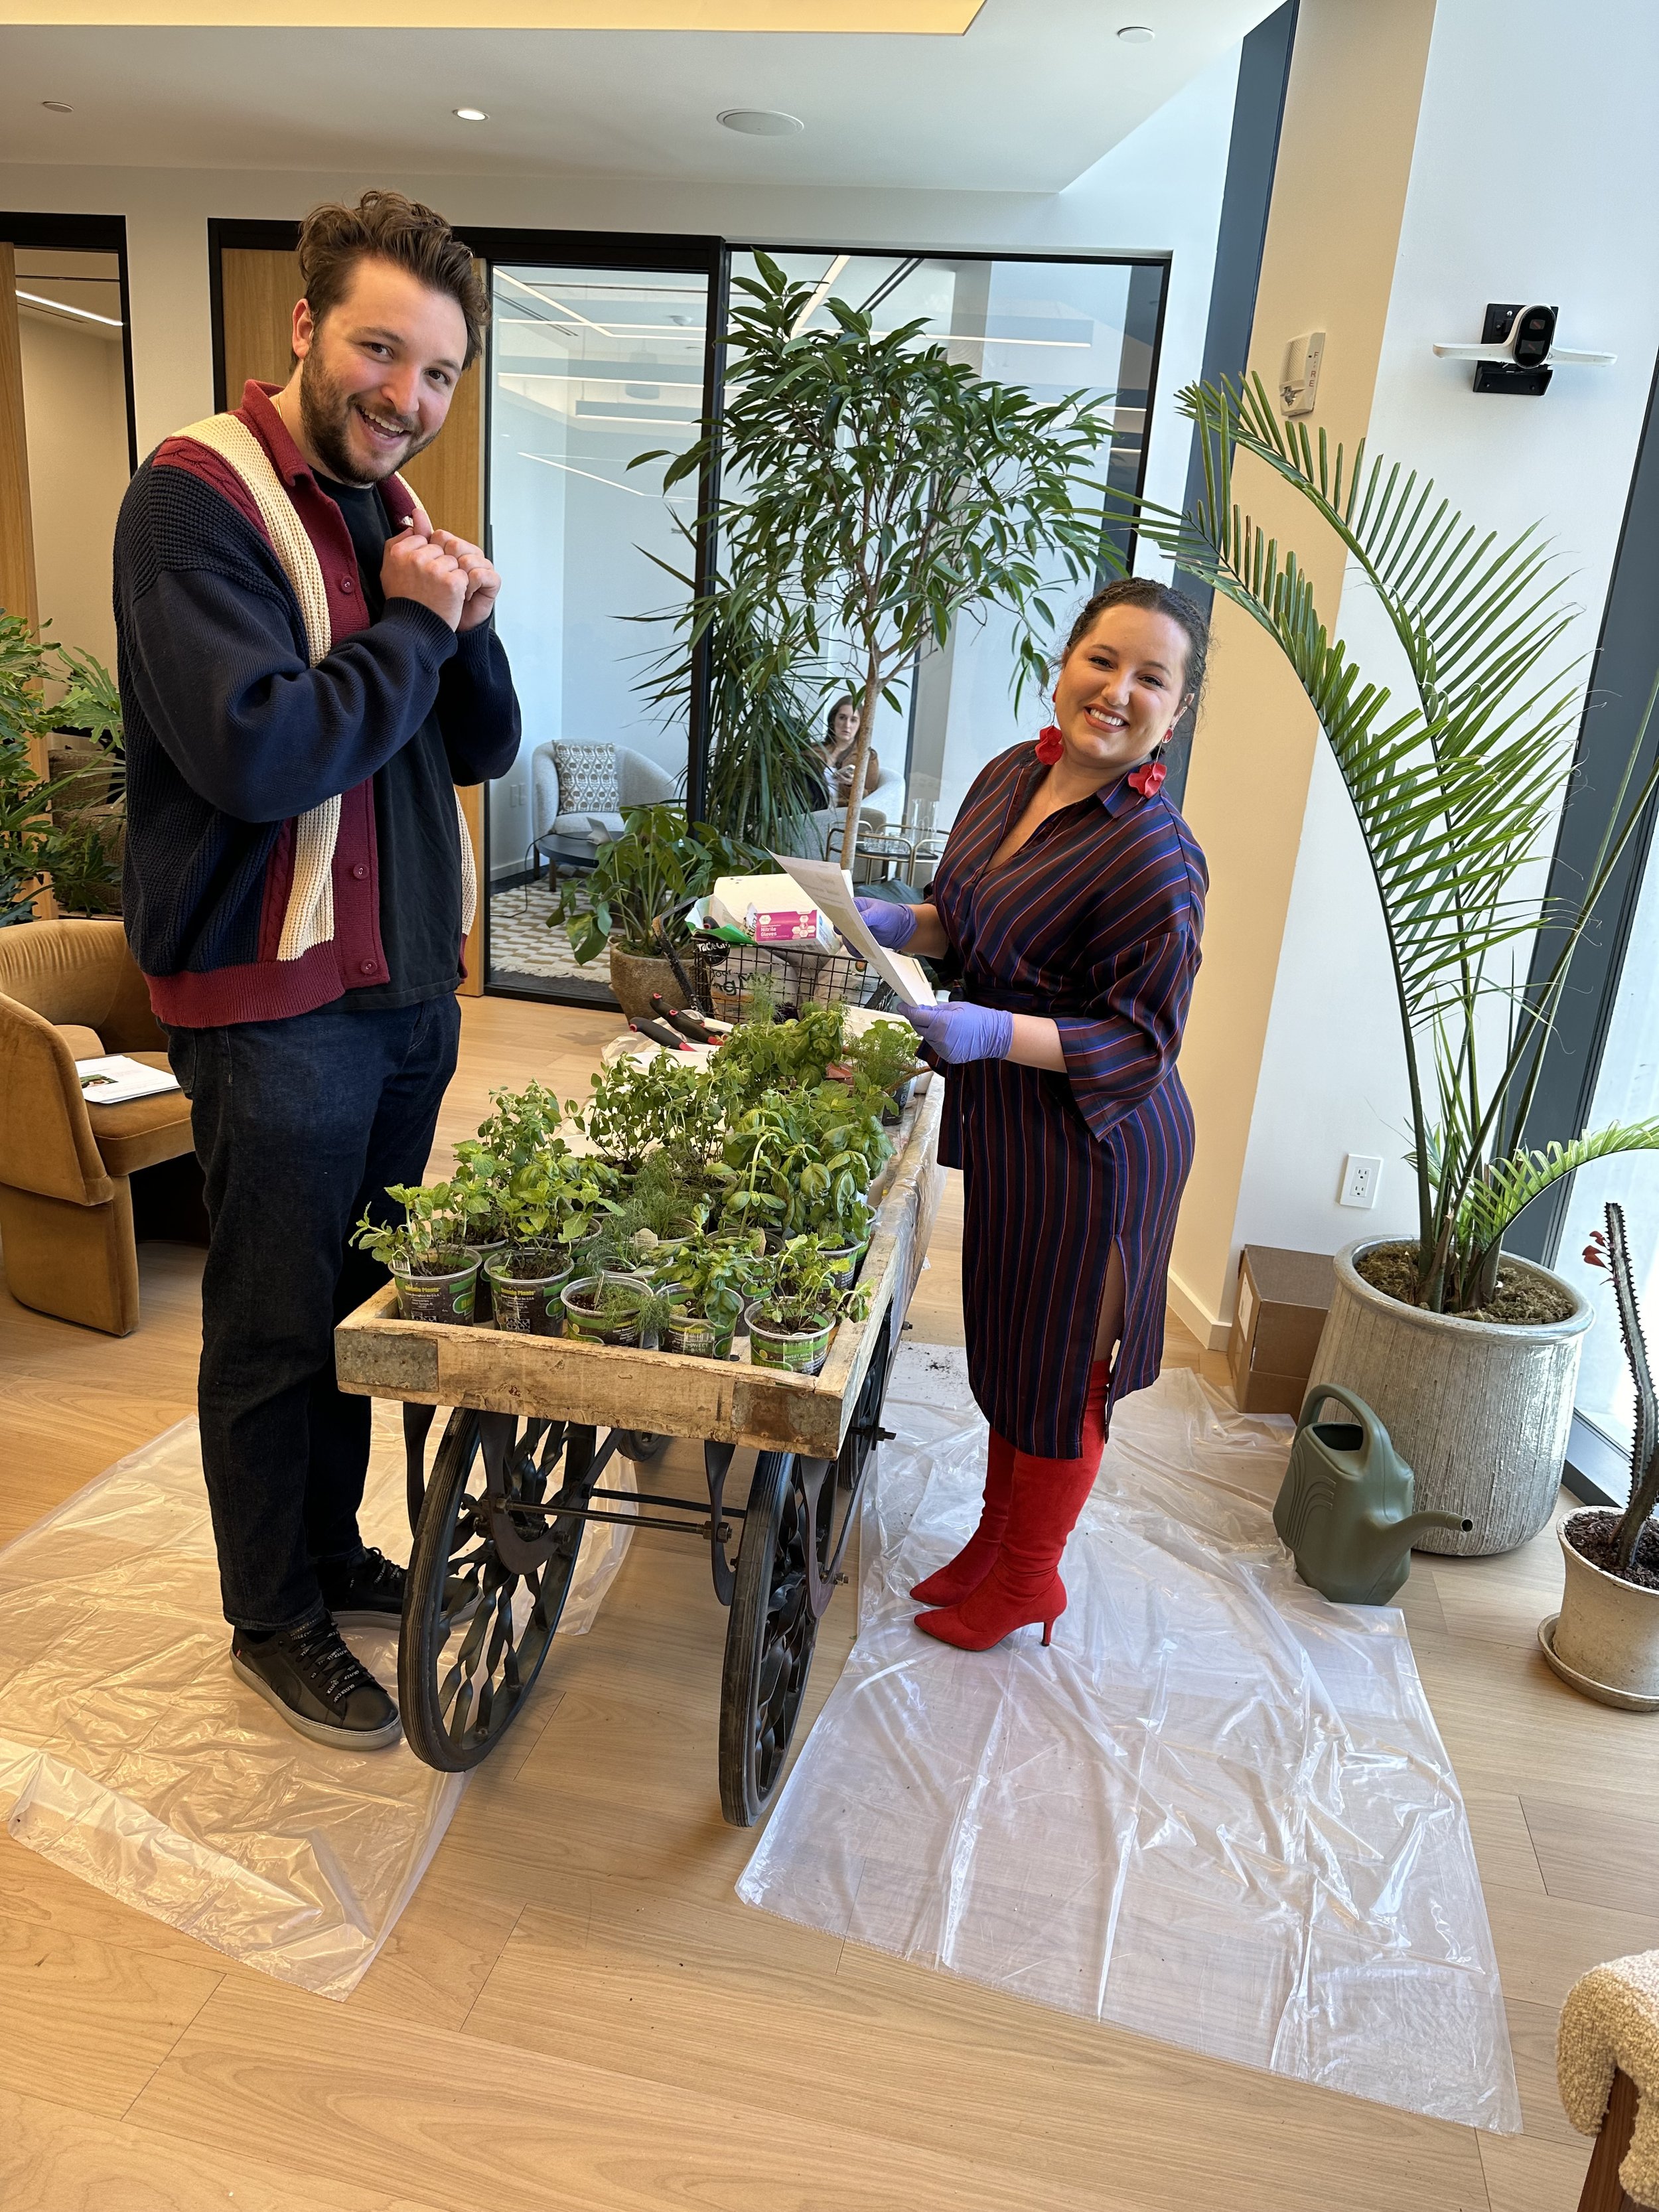
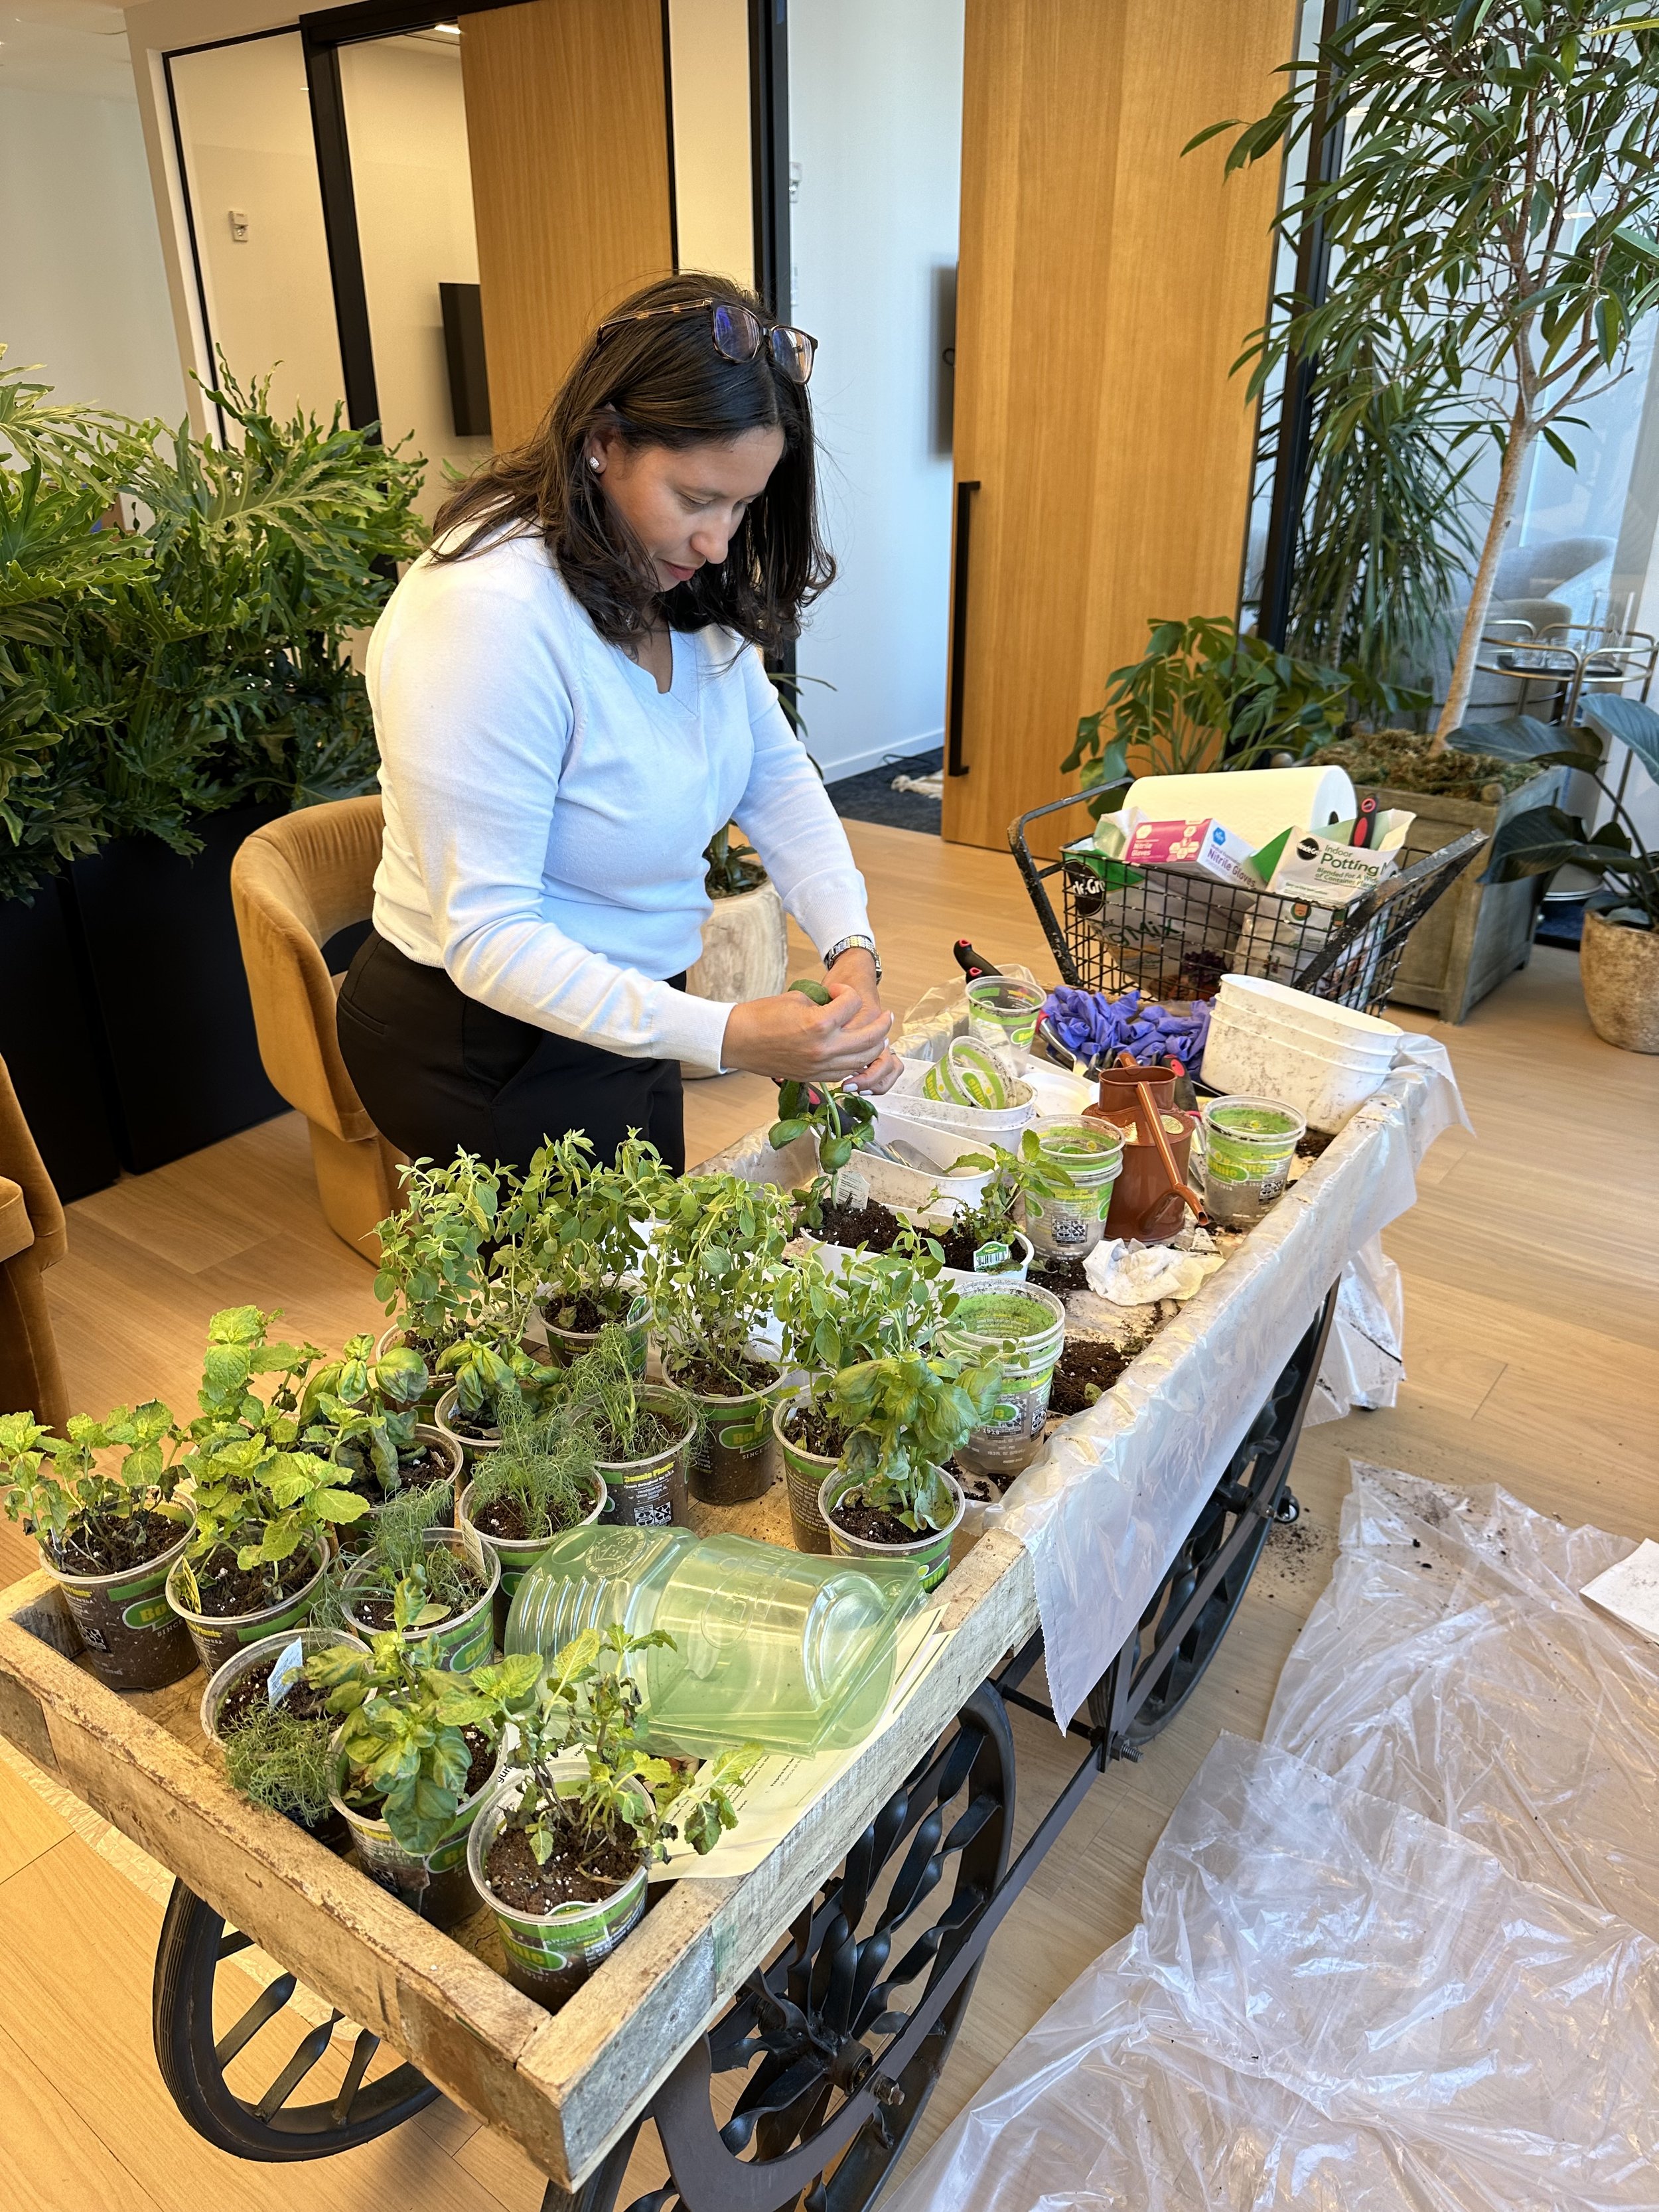
Last week in NYC, to celebrate Green Week and sustainability GumGummers got their hands dirty (in a good way!) for a fun and informative DIY Herb Garden Workshop in our very own garden lounge – our NYC farmhouse all-hands area.
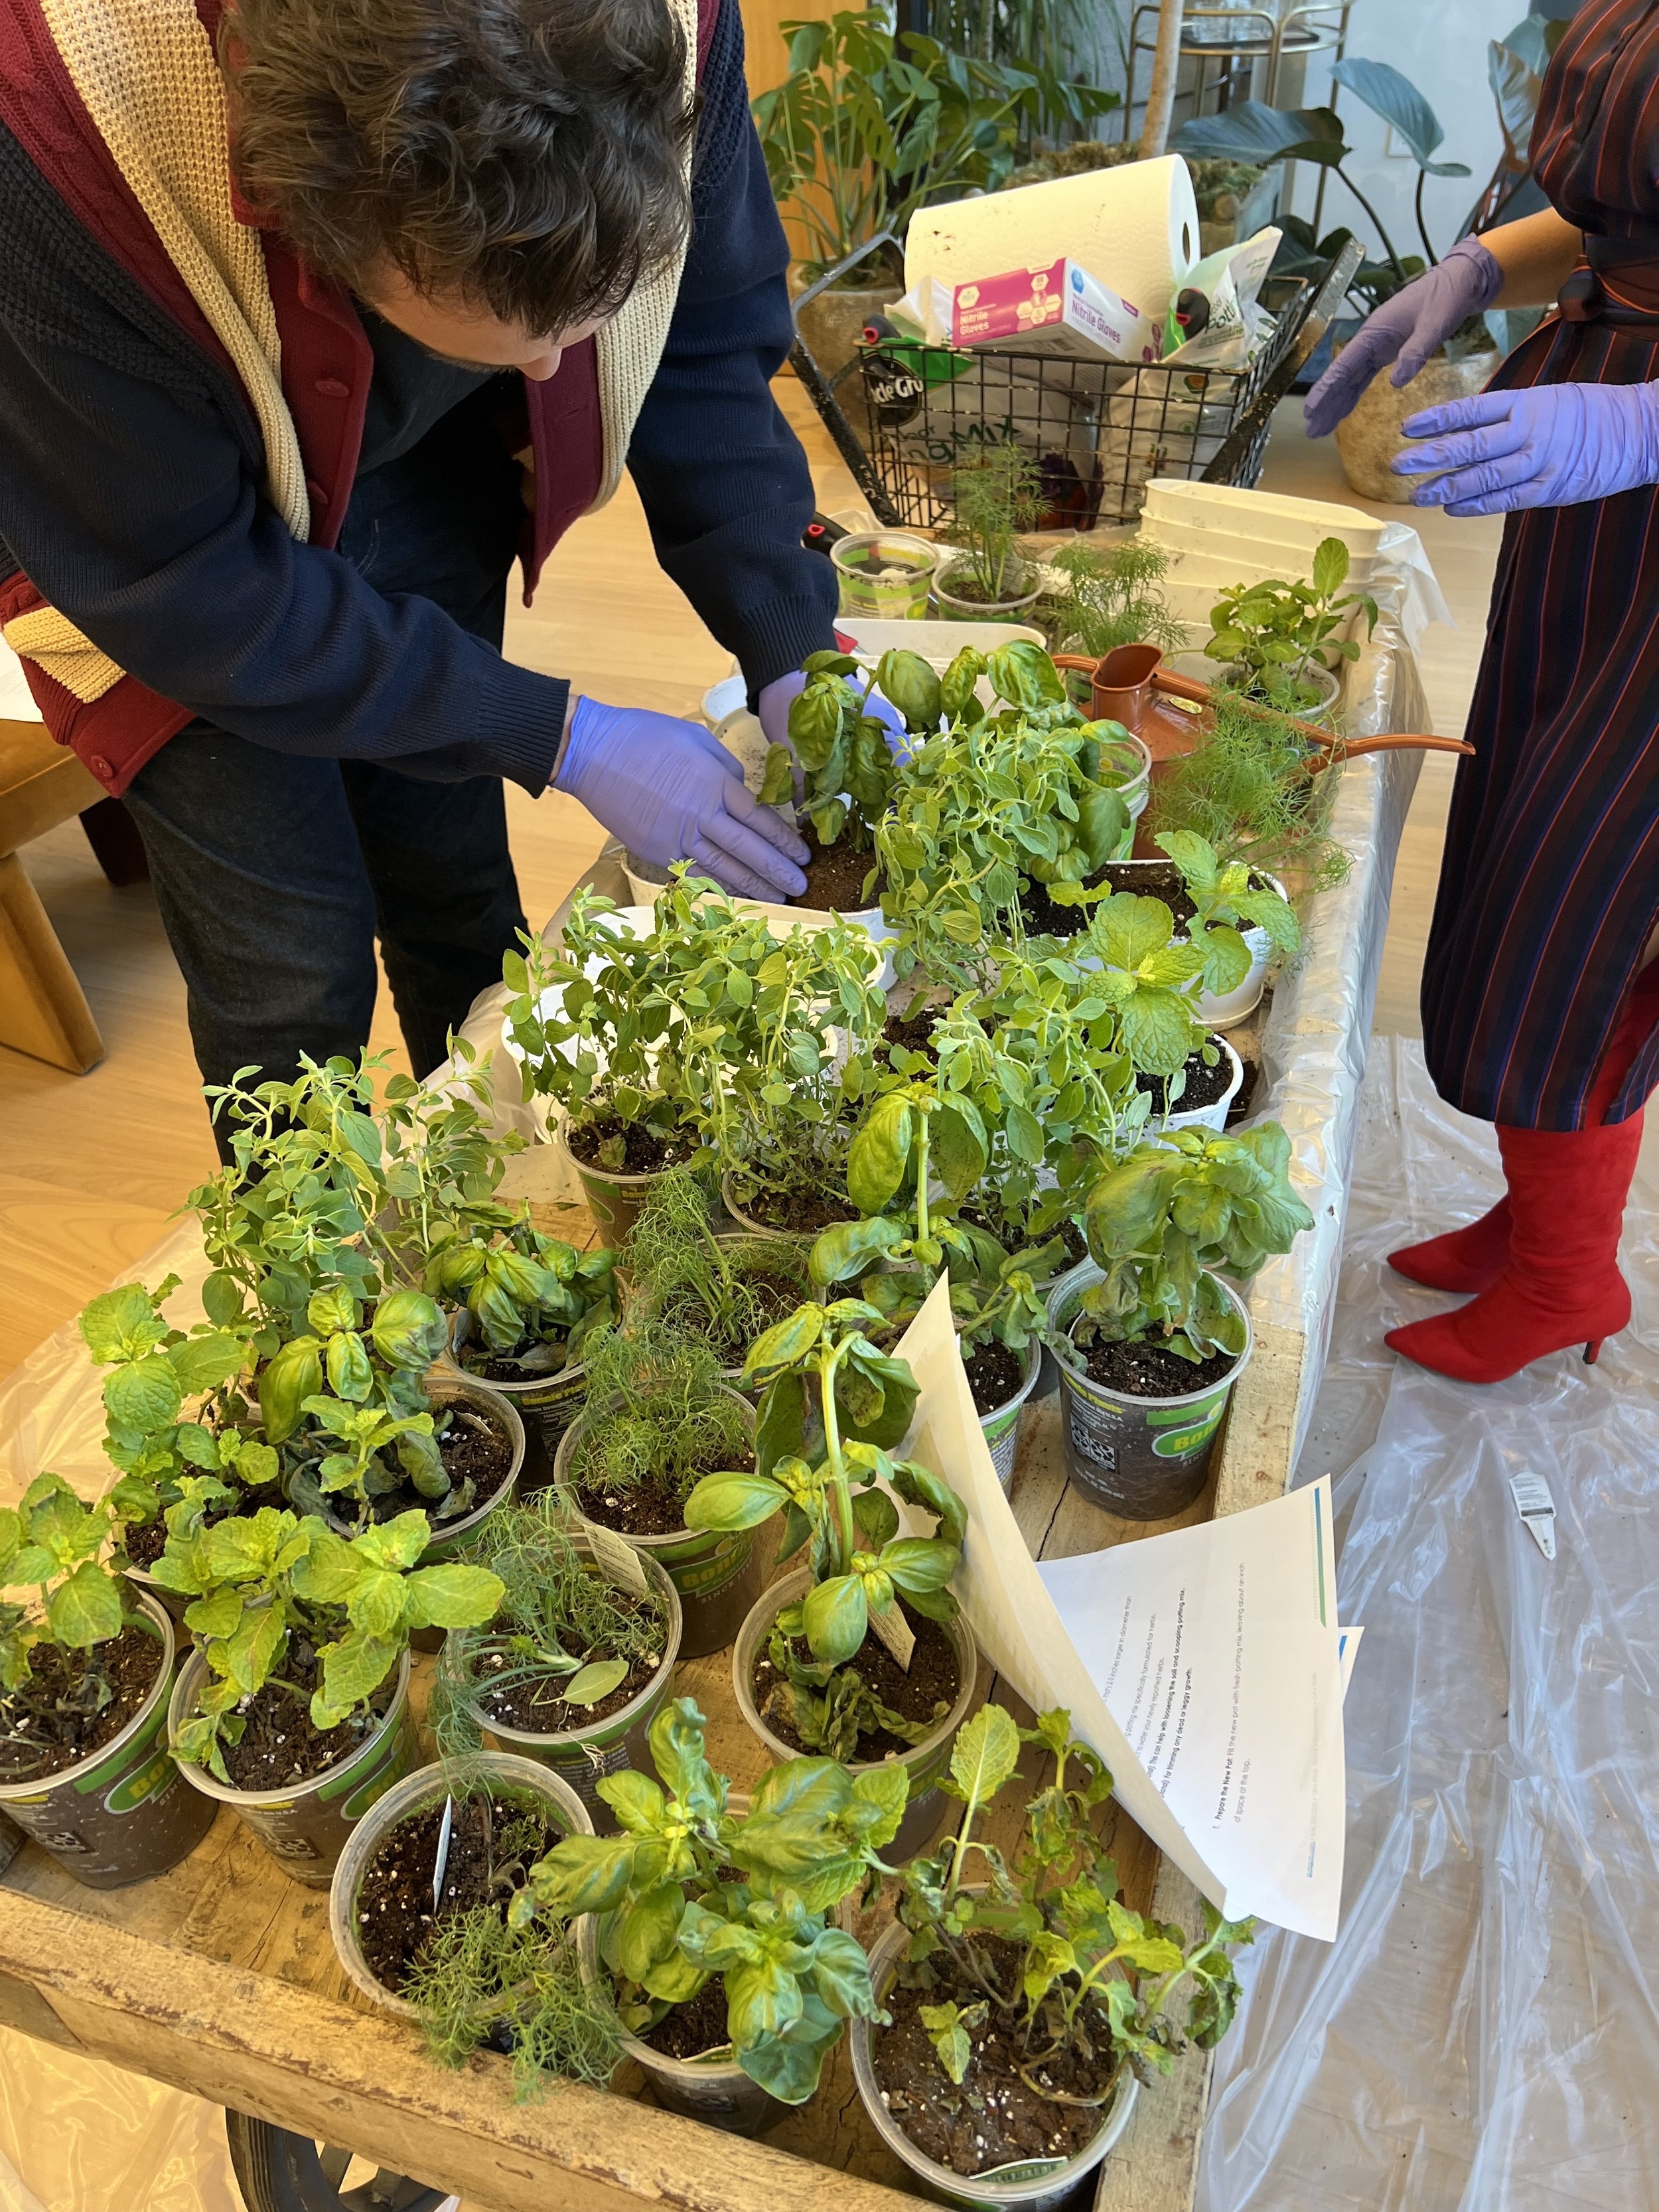
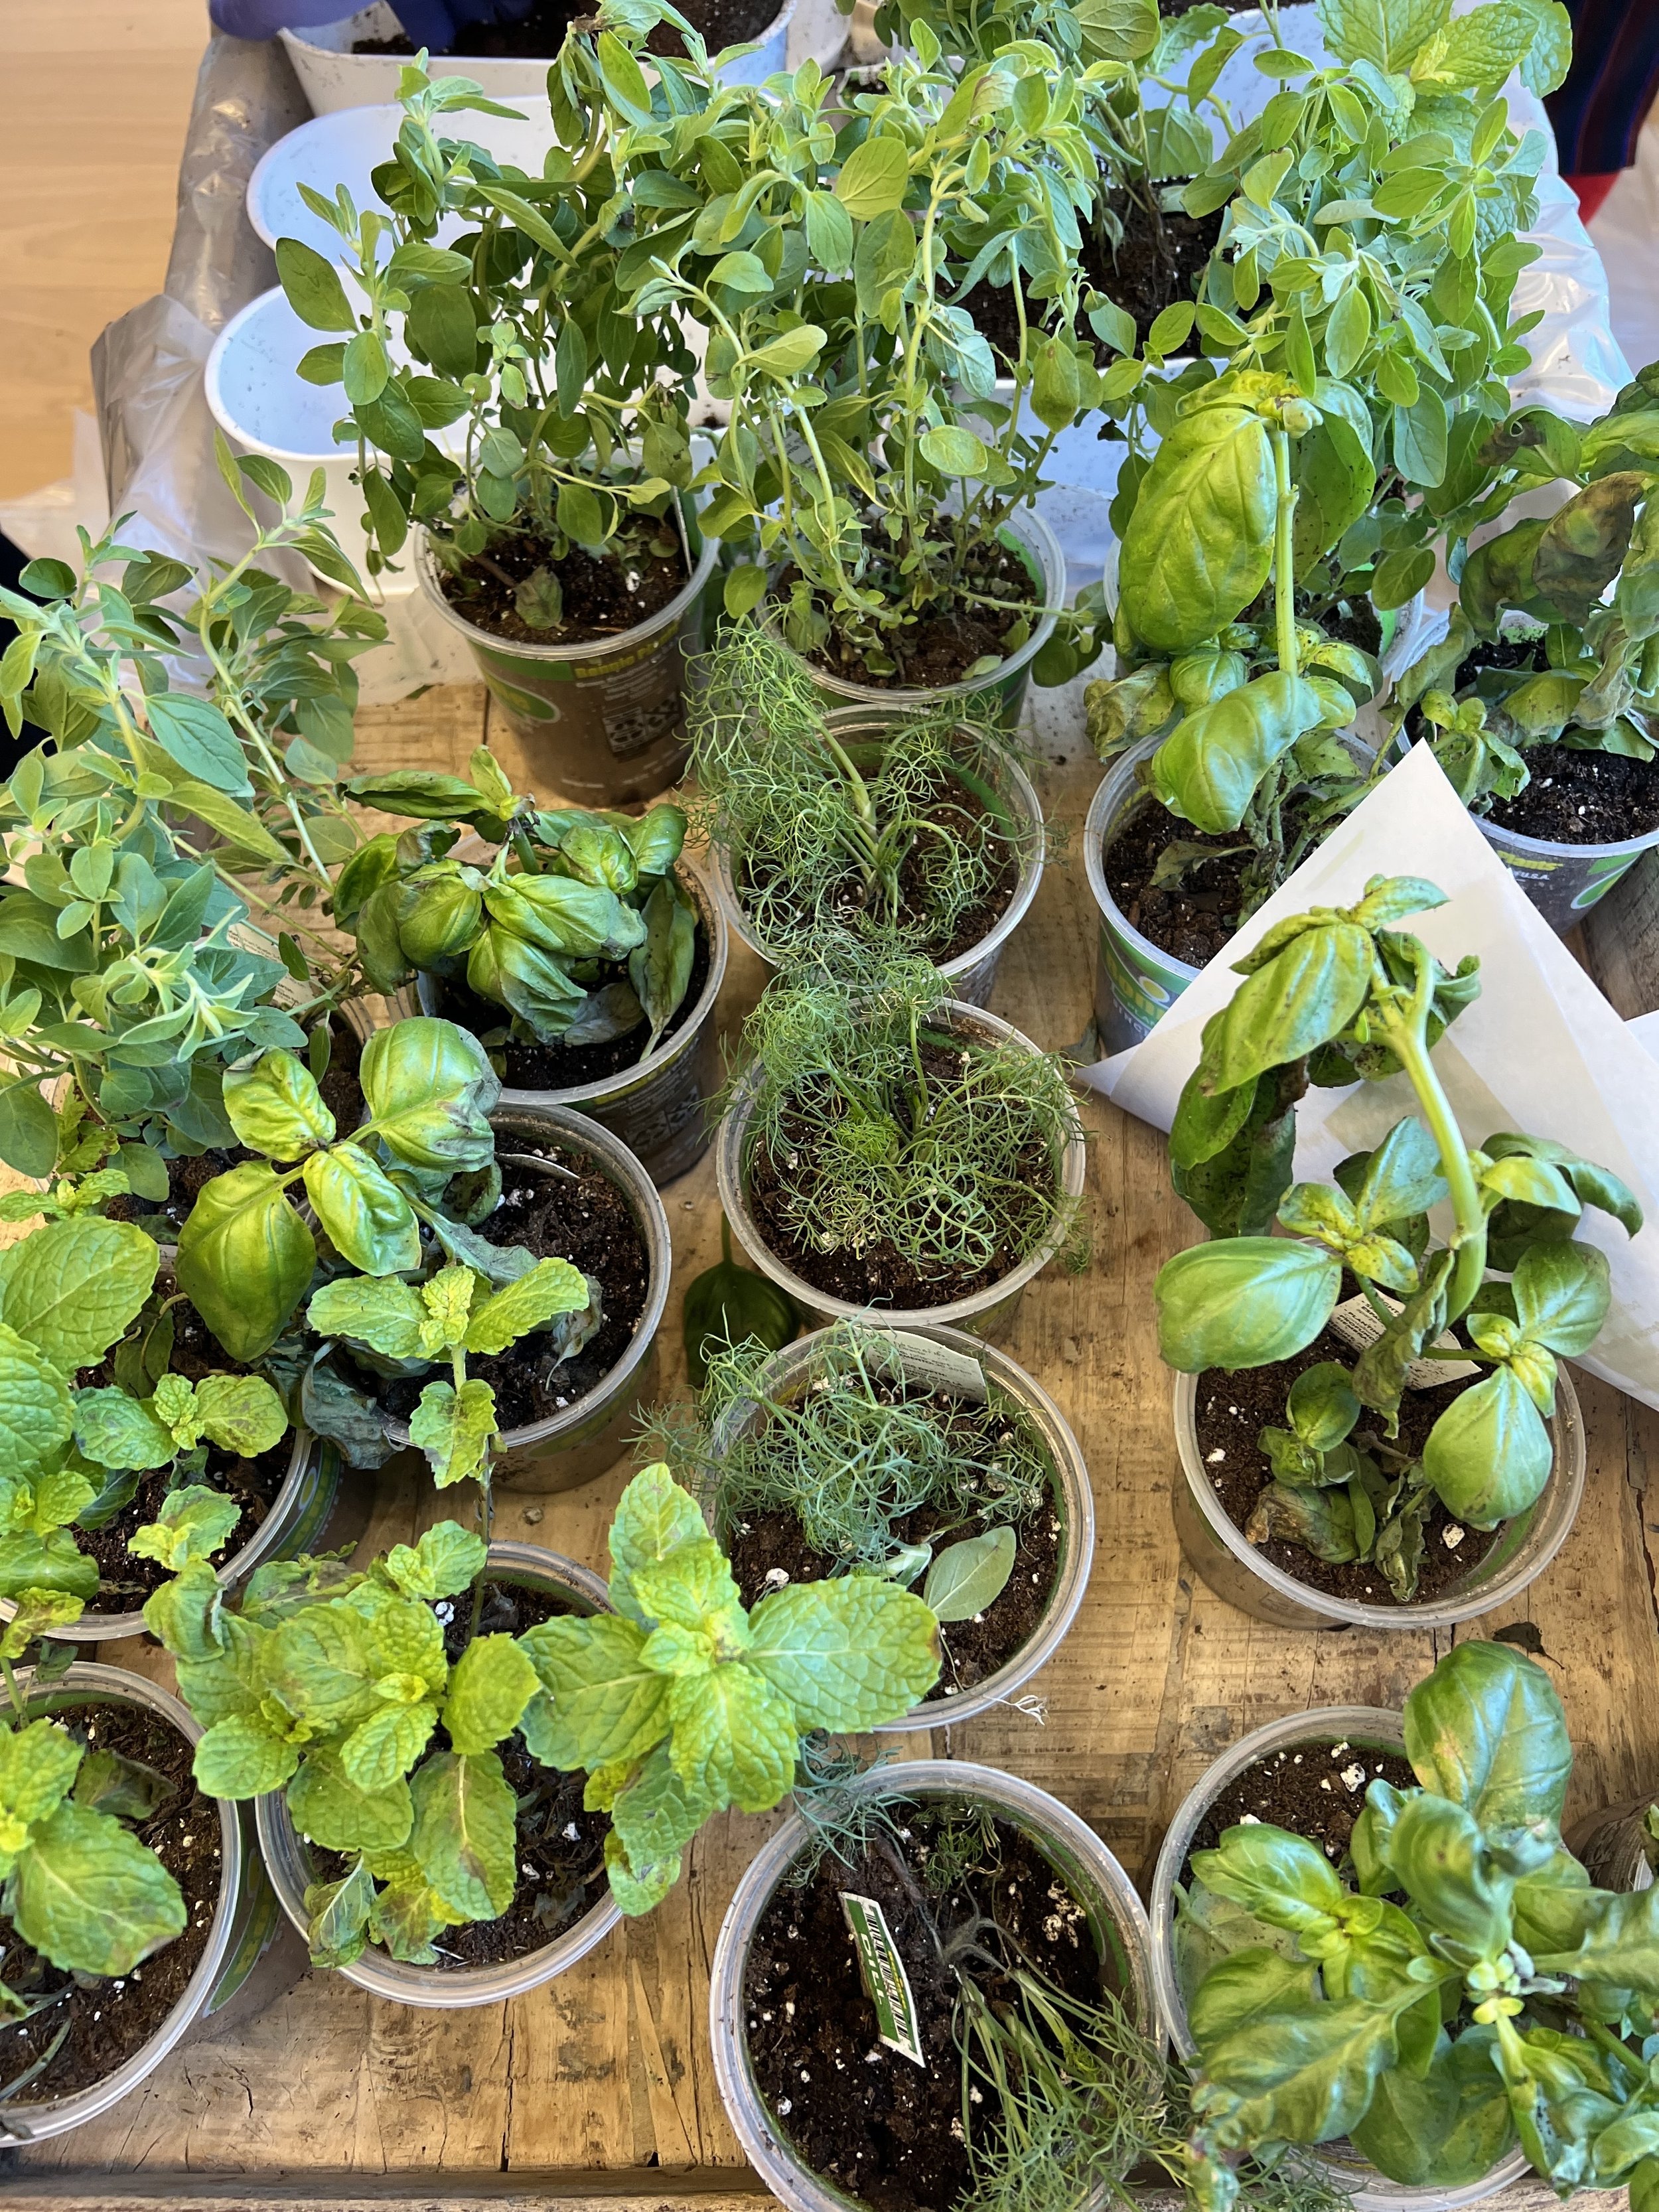
During the workshop, the team learned the basics of herb gardening, from how to properly pot plans to how to care for them. Equipped with knowledge and enthusiasm, they then created their very own miniature herb gardens to take home and nurture.
This workshop wasn't just about getting creative – it was also about providing GumGummers with the tools and know-how for successful at-home gardening ensuring their little herb gardens thrive.
We're so grateful to the team for embracing sustainability and for taking a step towards growing their fresh herbs. Who knows, maybe these mini gardens will inspire future urban farming initiatives
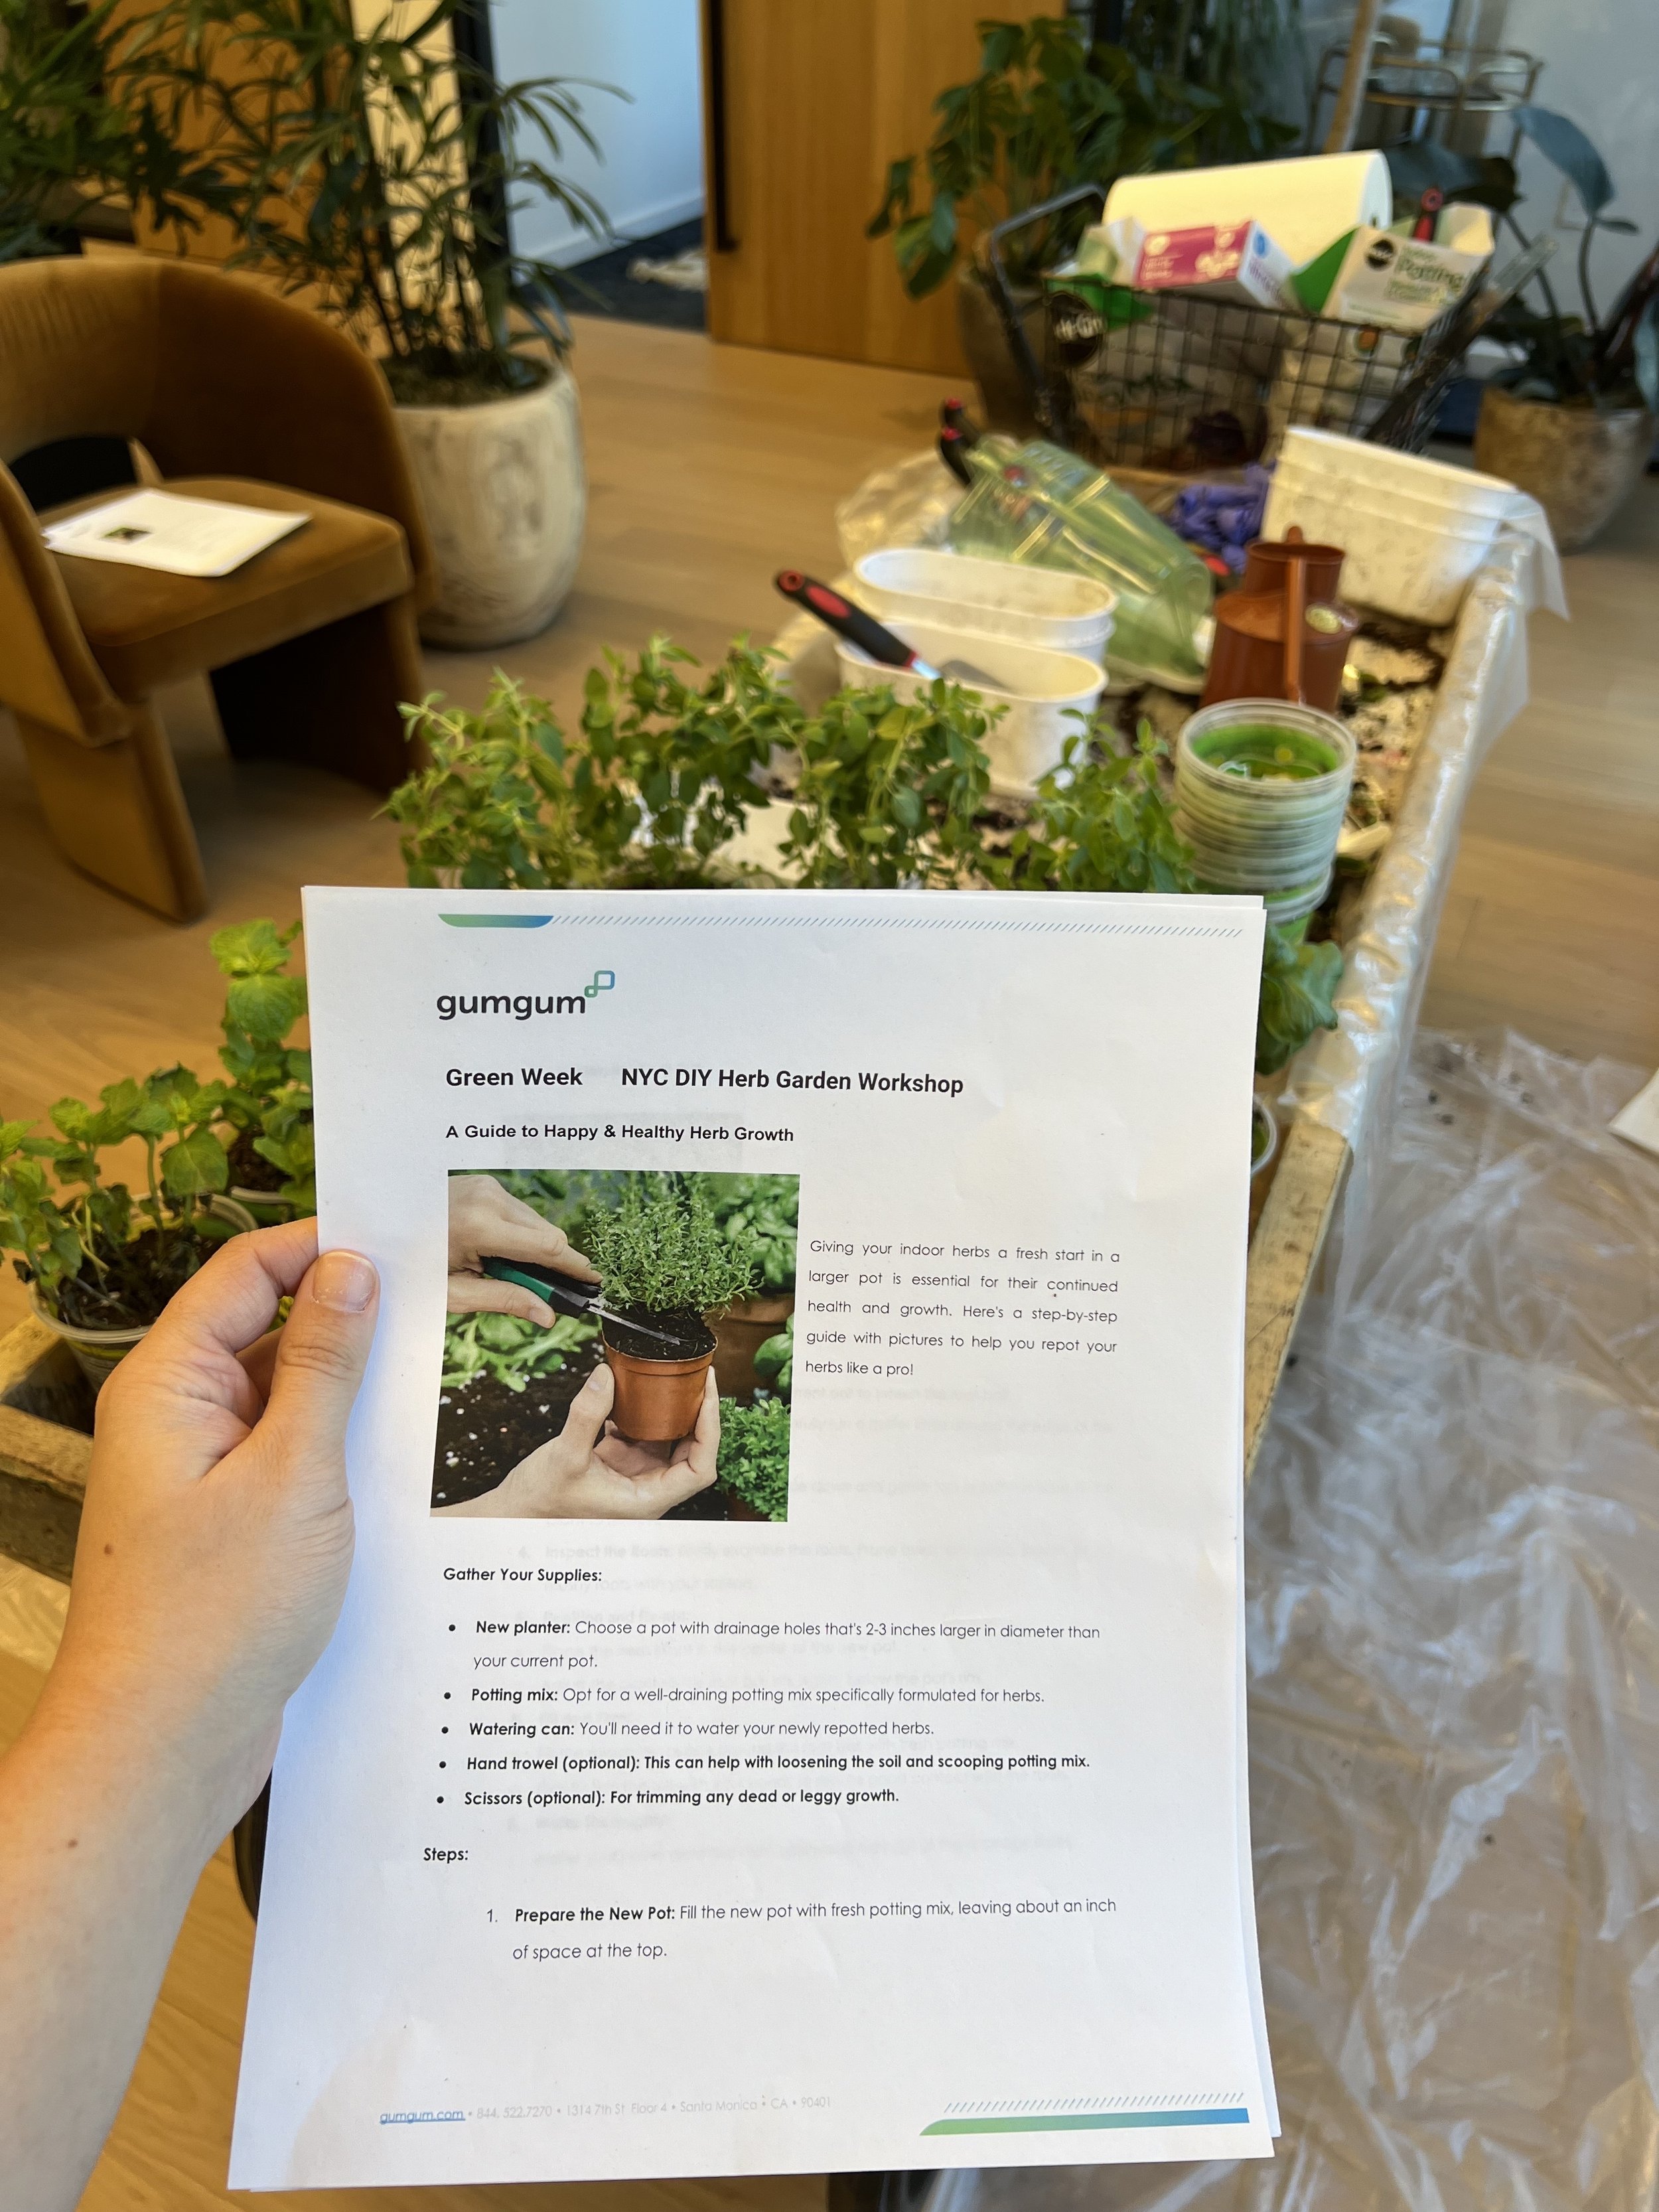

🌱 A Guide to Happy & Healthy Herb Growth 🪴
Giving your indoor herbs a fresh start in a larger pot is essential for their continued health and growth. Here's a step-by-step guide with pictures to help you repot your herbs like a pro!
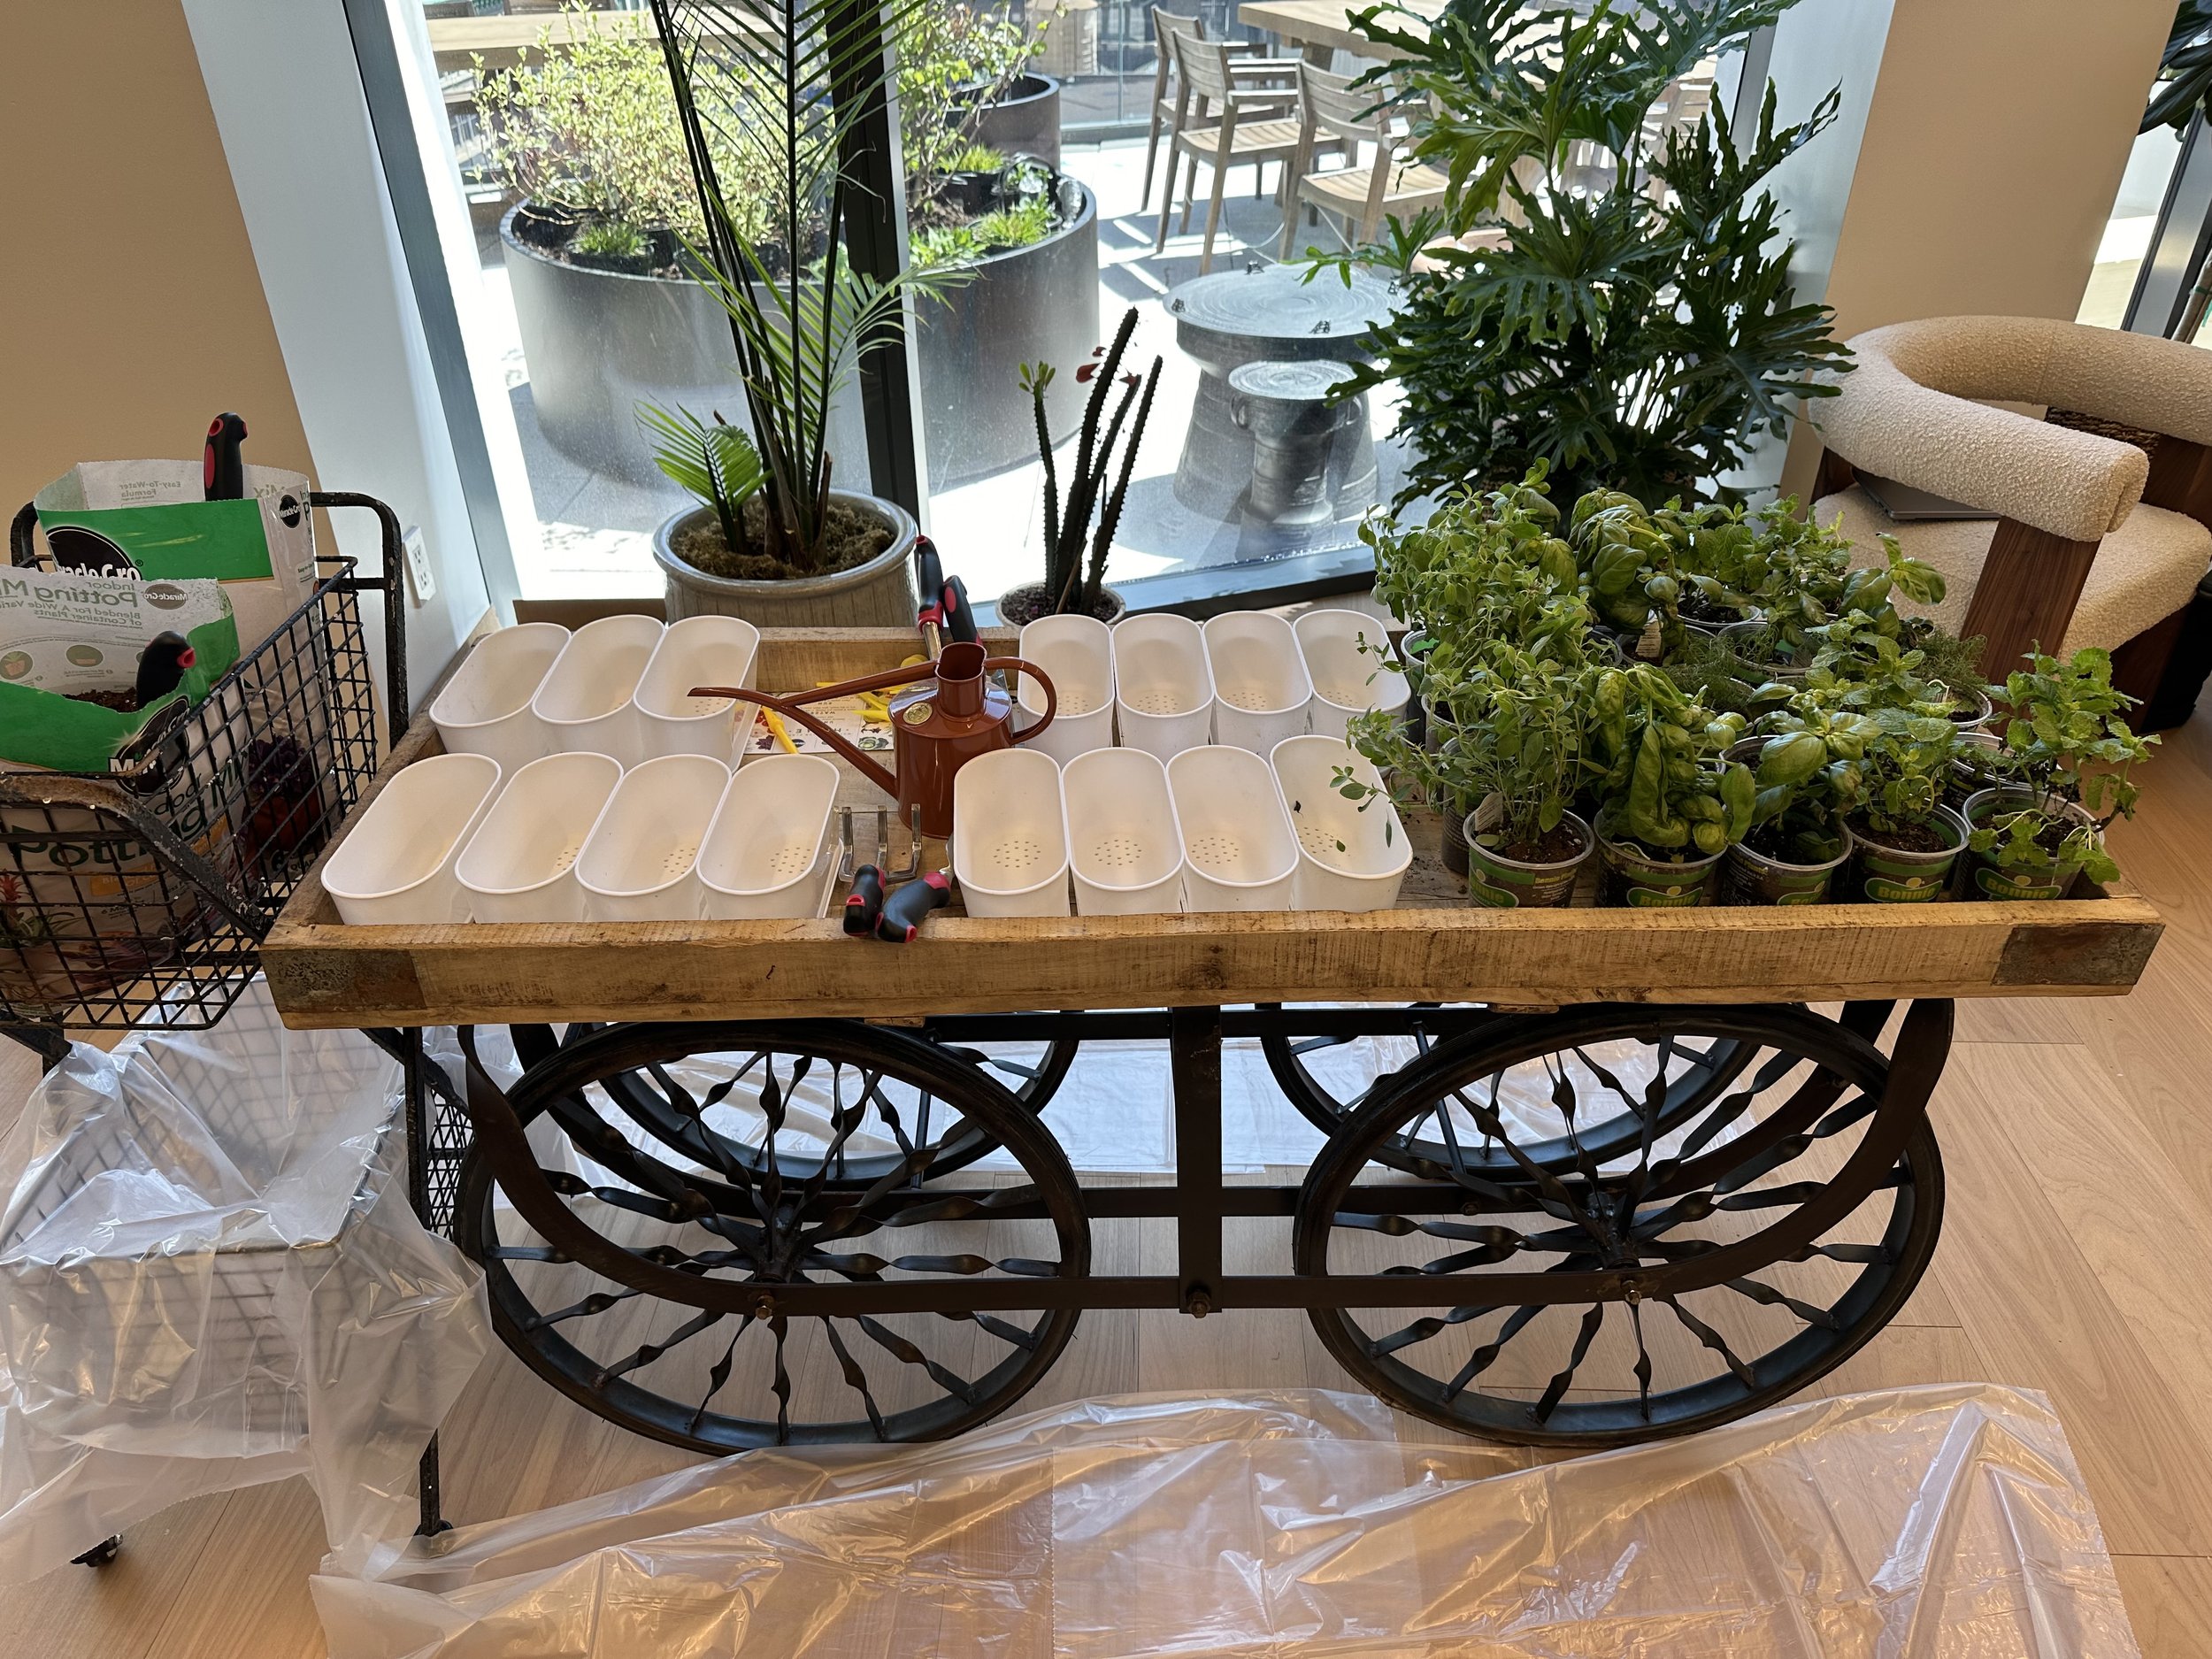
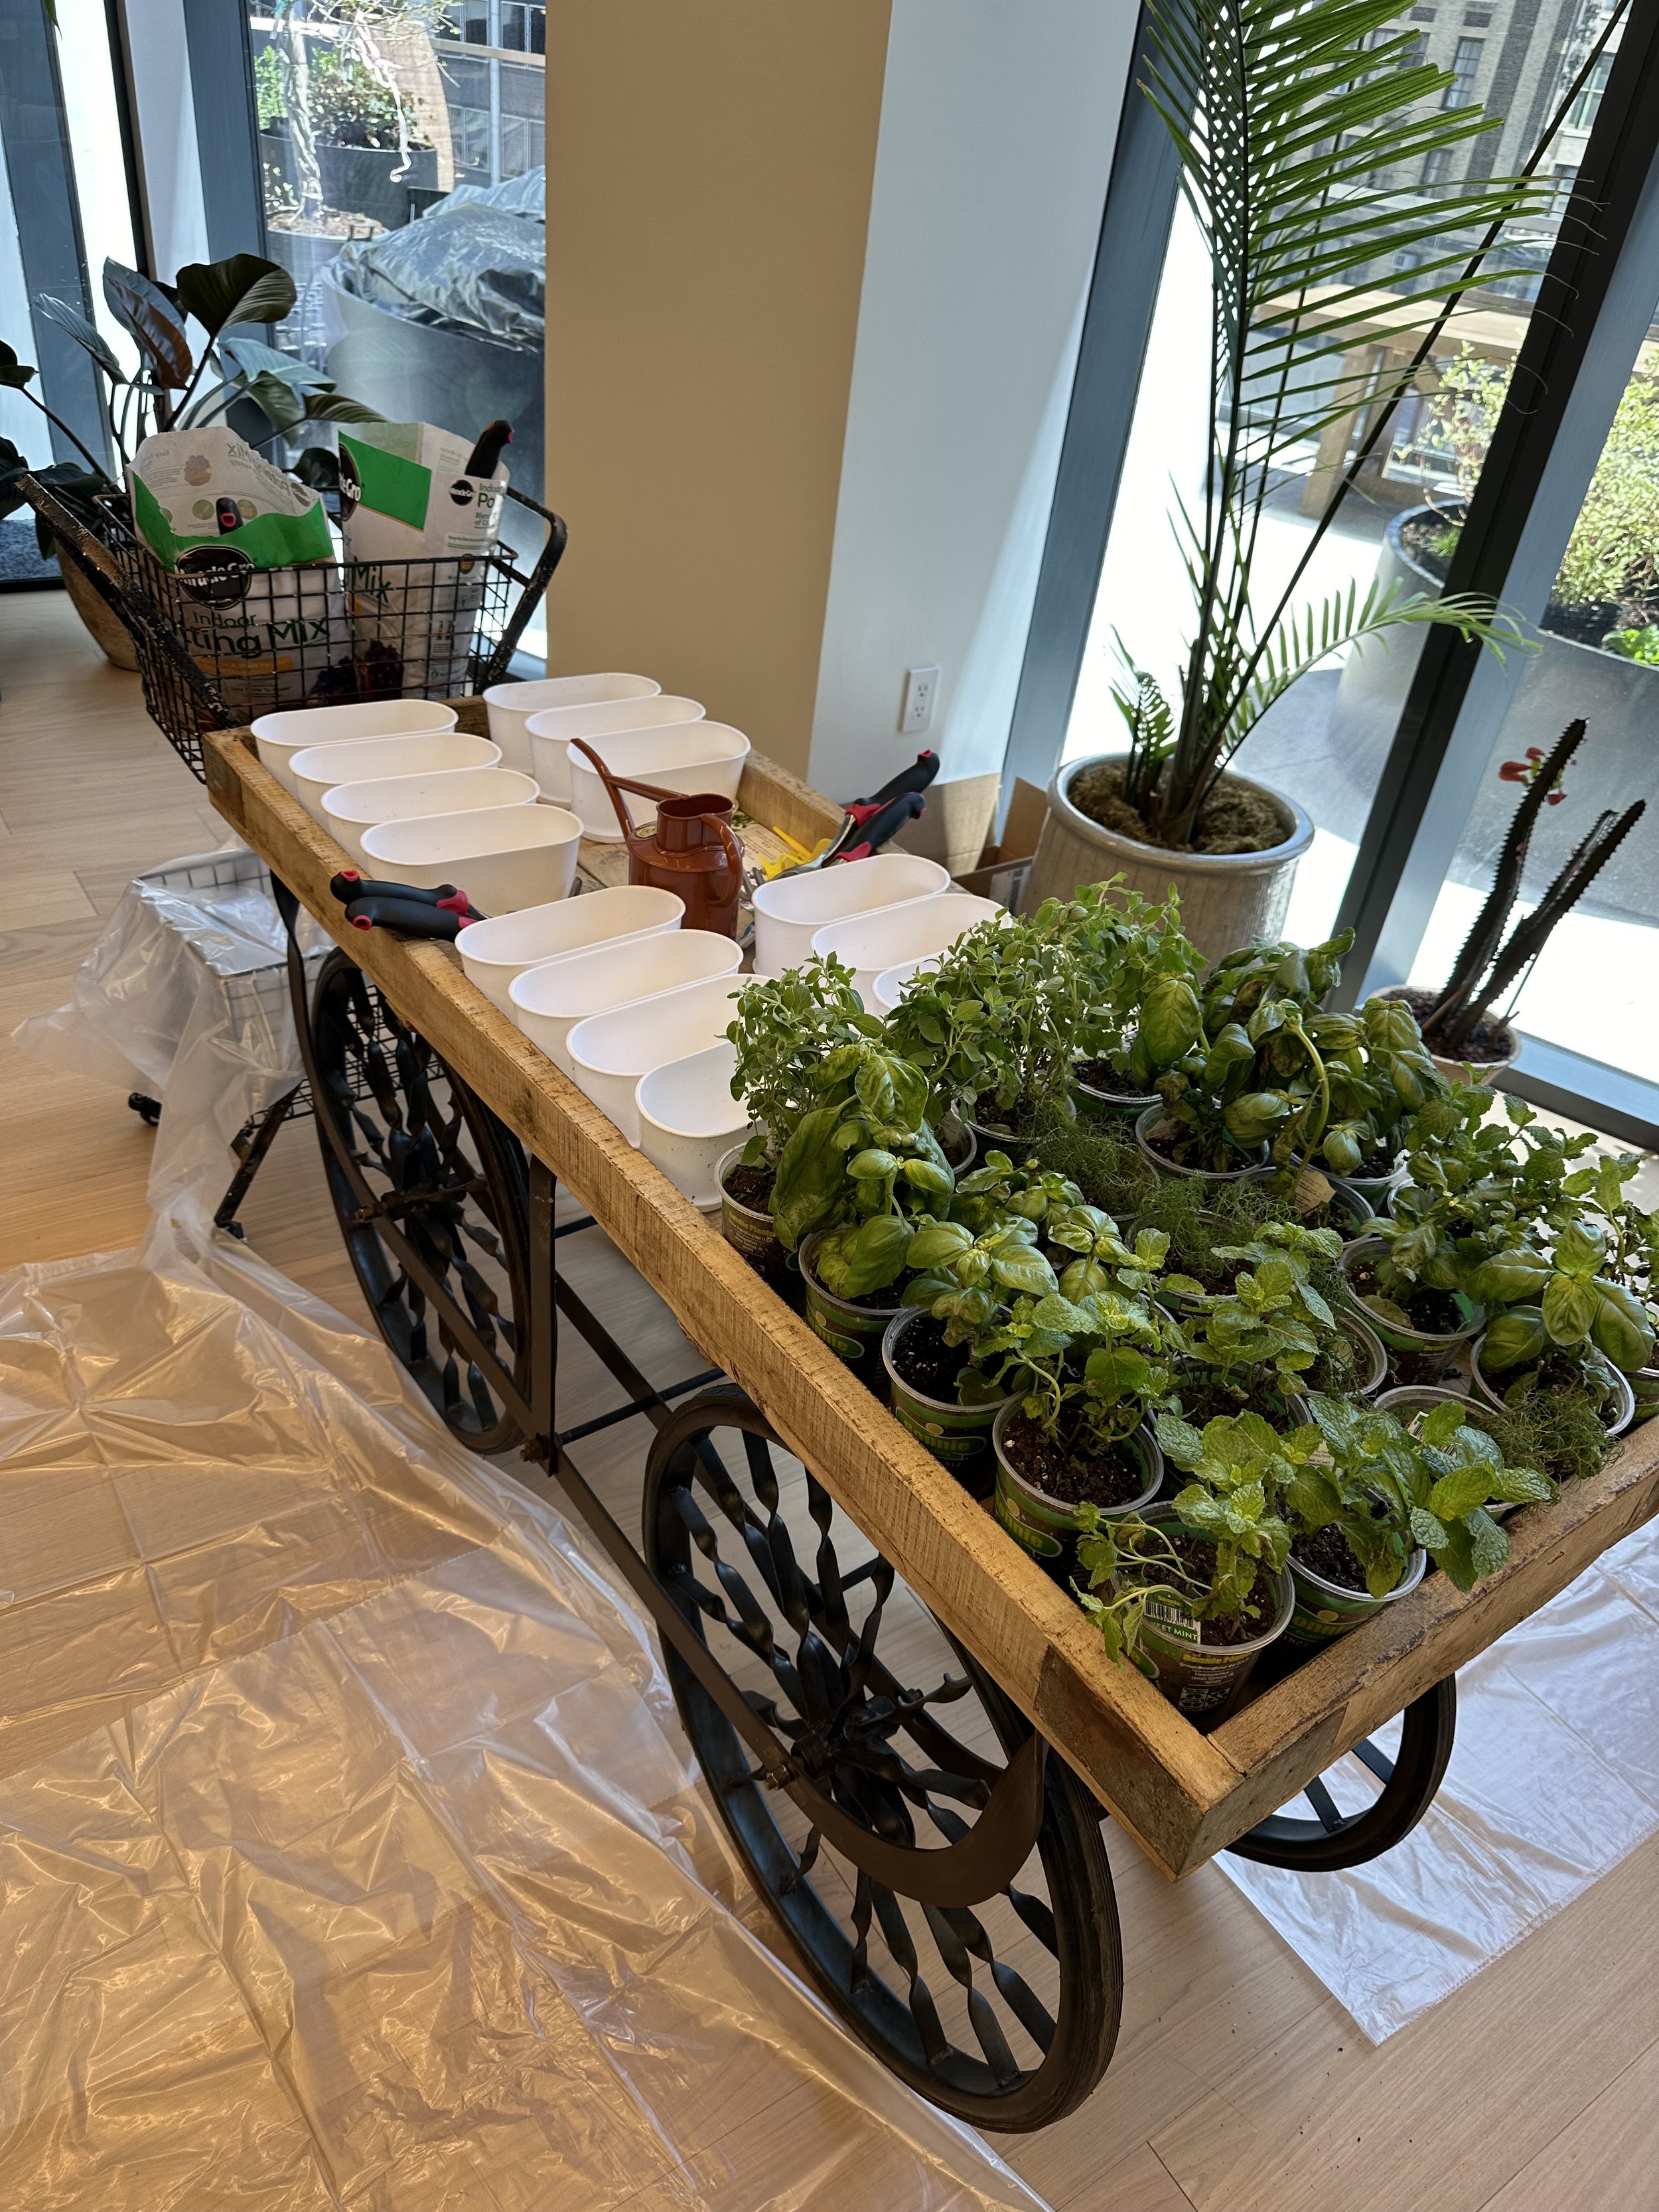
🌿Gather Your Supplies:
New planter: Choose a pot with drainage holes that's 2-3 inches larger in diameter than your current pot.
Potting mix: Opt for a well-draining potting mix specifically formulated for herbs.
Watering can: You'll need it to water your newly repotted herbs.
Hand trowel (optional): This can help with loosening the soil and scooping potting mix.
Scissors (optional): For trimming any dead or leggy growth.
🪴Steps:
1. Prepare the New Pot: Fill the new pot with fresh potting mix, leaving about an inch of space at the top.
2. Loosen the Root Ball:
Gently squeeze the sides of the current pot to loosen the root ball.
If the plant is very root-bound, carefully run a butter knife around the edge of the pot to help separate the roots.
3. Remove the Plant: Tip the pot upside down and gently tap or pull the base of the plant to remove it.
4. Inspect the Roots: Briefly examine the roots. Prune away any dead, brown, or mushy roots with your scissors.
5. Position and Re-pot:
Place the herb plant in the center of the new pot.
Adjust the plant so the root ball sits slightly below the pot's rim.
6. Fill and Firm:
Fill the remaining space around the root ball with fresh potting mix.
Gently firm the soil with your hands to ensure good contact with the roots.
7. Water Thoroughly:
Water your newly repotted herb until water runs out of the drainage holes.
💡Post-Repotting Care
Place your repotted herb in a location with bright, indirect sunlight.
Avoid overwatering, especially in the first few weeks. Allow the top inch of soil to dry out before watering again.
You may notice some wilting after repotting, but this is normal. Your herb should perk up within a few days.
Resume fertilizing with a balanced fertilizer after 4-6 weeks, following the instructions on the product label.
⭐ Bonus Tip:
Re-pot your herbs in the spring or early summer when they are actively growing.
With proper care, your repotted herbs will thrive and provide you with fresh flavor for all your culinary creations!